AinTrailers update 3.2 received completely reworked character animations. One of the improvements was the principle of working with animations. You can read more about the new animation system in a separate article.
Now let’s take a look at the update on the side of walking and running animations. Walking and running animations are some of the most challenging animations when working with characters. And that’s why the update makes our product the best on the market, as we’ve added a huge variety of walking and running character animations and you won’t find such variety in any explainer video toolkit. What’s more, thanks to the animation phases and Character Assistant plugin with “combine mode”, we’ve made it quite flexible to use.

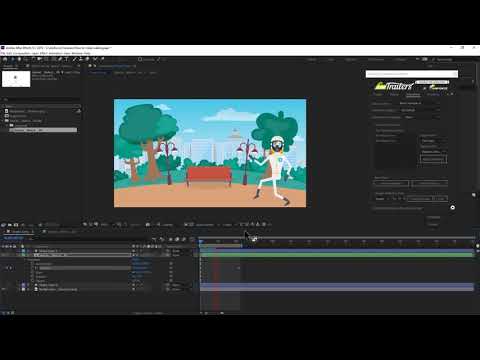
Result of Start + Loop (1 cycle) + End

Result of Start + Loop (2 cycles) + End

Result of Start + Loop (3 cycles) + End
How to make the movement of the character in the scene
For experienced users, it will not be difficult to move the character in the scene, but for novice users it can be difficult. By itself, using the animation preset for the character is quite simple, but the movement of the character in the scene can have certain nuances. Below we will try to consider all aspects to make it more transparent.
Before starting to work with animation, you need to determine roughly from what point the character will start moving and at what point the movement will end. This is necessary in order to determine the distance in pixels that the character needs to travel. This distance will be needed to calculate the number of animation “Loop” cycles.
The easiest way to determine the distance is to draw a rectangular shape and see the distance in the “Size” property. In the example shown in the video below, we have drawn an approximate distance and the length in pixels is equal to 1464. This number will be used in the step 3 for calculations.
Choose the walking or running animation that best suits your scene. The preview shows a “Loop” phase of the presets, but you should keep in mind that the GIF is looped on the preview, so it looks like endless walking or running. In reality, a “Loop” preset is one cycle and you need to combine a loop preset as many times as necessary.
At this step, you need to determine the length of the character’s stride for the selected animation. Below is the order of steps:
- Open the character composition and apply a “Loop” preset of the selected animation.
- Go back to your scene and move the time indicator where the stride length will be longest. This is usually the beginning of the animation. It is important to determine the stride length in your scene, since the scale of the character in your scene is individual.
- Create a shape rectangle along the length of the step. In the “Size” property we can define the stride length. In our example, this turned out to be 626 pixels.
In the first step, we determined the distance that the character should travel (1464 pixels). The step size in the animation is 626 pixels, that is, it is one cycle. Accordingly, to determine the required number of cycles, we divide 1464 by 626. The result is 2.33. You can round to either side. In our example, we will round up (to 3), since the character in our case will appear outside the scene.

In the previous step, we determined that we need 3 cycles of the “Loop” phase. But before using the “Loop” phase, you need to understand if you need a “Start” phase.
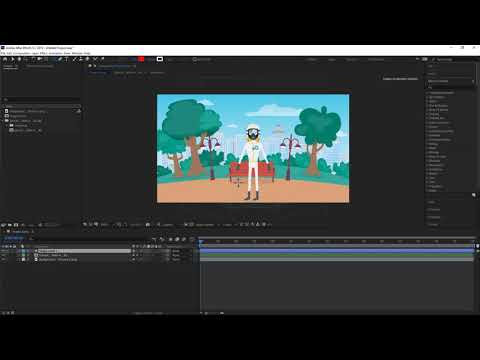
- If your character will appear in the scene from an invisible area, then, as a rule, the “Start” phase is not needed.
- If your character is in the scene and must go from a static pose (default pose), then the “Start” phase is required.
In our example, we do not use the “Start” phase, so the order of combination will be as follows – 3 “Loop” phases and an “End” phase. Additionally, we note that for the “Start” phase it is necessary to indicate the position of the time indicator, while for the “Loop” and “End” phases the time indicator is shifted automatically. As a result of the combination, the walking animation will be in one place, without moving through the scene.
To make the character move around the scene, you need to add keyframes in the “Position” property, in particular from the starting point to the stopping point. For this, it will be convenient to use the shape rectangle that was made earlier. List of steps to get around:
- Go inside the character composition and move the time indicator to the position where the animation ends. The extreme marker End can serve as an orientation.
- Go back to the scene composition and change the position of the character so that he is at the stopping point.
- Move the time indicator to the beginning of the animation and change the position of the character to the starting point.

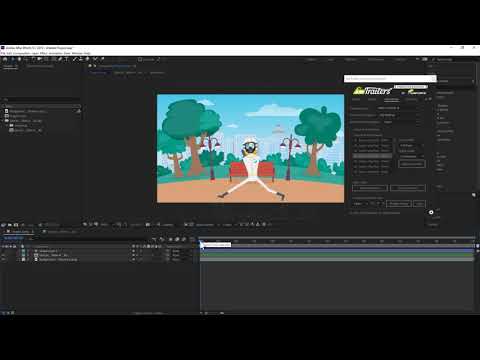
Depending on the duration and dynamics of your scene, you may need to tune the animation speed. The order of steps that you need to follow for such a tuning:
- Go to character composition and use the plugin to slow down the animation speed (via Change Animation Time section).
- After you changed the animation speed, the end point of the “End” marker will change. Move the time indicator to the position of this “End” marker.
- Go back to your scene composition and move the extreme keyframe of the “Position” property to the location of the time indicator. In our case, we are moving the keyframe to the right as we slowed down the animation.