We understand that each user of Premiere Pro can have their own and familiar way of working on a project. Therefore, especially for those who want to control every action when working with materials and the timeline, we added both to the extension and to the transition structure itself the ability to add transitions to the timeline manually.
At the same time, this method in its capabilities has the same functionality to work with any resolution, any pixel aspect ratio, any frame rate and any transition speed as with the automatic method. That is, the difference is only in the fact that you yourself add the transition to the timeline, there are absolutely no more restrictions.
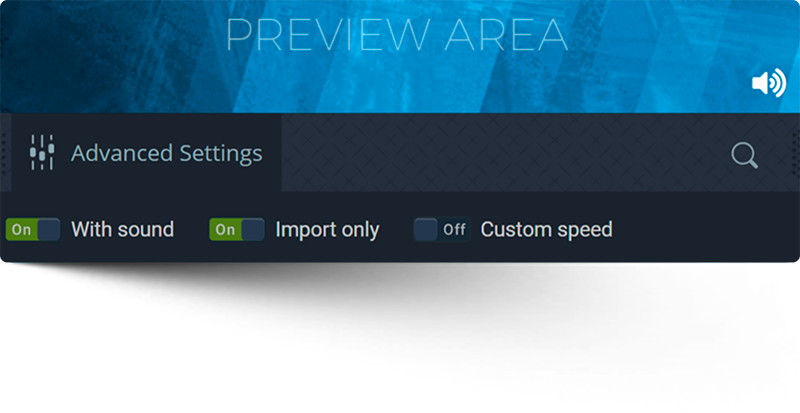
To activate manual mode, all you need is to turn ON the “Import only” option.

Video Tutorial
How to use Transitions for Premiere Pro (Manual Mode)

We care about users with different levels of Premiere Pro, so our tutorials are made in a detailed form. Therefore, time codes are available for each tutorial, with which you can find the necessary information. Also in each tutorial at the top there is a visual display of the section.
- 00:00 – 00:08 – Intro
- 00:09 – 01:01 – “Import only” method overview
- 01:02 – 01:20 – Activate “Import only” method
- 01:21 – 01:43 – Position of time indicator
- 01:43 – 02:22 – How it works: Highlight imported transition
- 02:23 – 03:11 – How it works: with no highlights
- 03:12 – 04:15 – How it works: Highlight imported transition via Search Bin
- 04:16 – 05:51 – How to manually add a transition to the timeline
- 05:52 – 06:15 – Group transition’s clips
- 06:16 – 06:29 – Ending
How to manually add a transition to timeline
This is a textual interpretation of the materials from the video tutorial above.
List of actions for manually adding a transition to the timeline:
- Since track targeting on tracks with the manual method of adding does not affect anything, this can be left as is.
- Make sure that the option “Insert and Overwrite sequences as nests or individual clips” is OFF on the timeline. This is indicated by the light color of the icon.
- Make sure that for video tracks, the indication “Source patching for insert and overwrites” is turned ON on any of the tracks.
- If you want to add a transition with sound, then for the audio track the indication “Source patching for insert and overwrites” must also be turned on, on any track.
- Drag the transition to the timeline
Please keep in mind that when adding transitions to the timeline manually, the transition parts will not be grouped. Therefore, if you need it, you can do it manually by selecting all parts of the transition and performing the mouse right-click > “Group” menu item.
Life hack: For a more convenient adding process, we recommend that you first set the time indicator to a point between two clips and then click on the transition icon with the required speed. In this case, the extension will automatically set the time indicator to the point where the transition should begin. This will allow you to drag the transition to the correct location based on the visual position of the indicator.
This works when the “Move the time indicator to the transition start point” option is enabled in the settings.