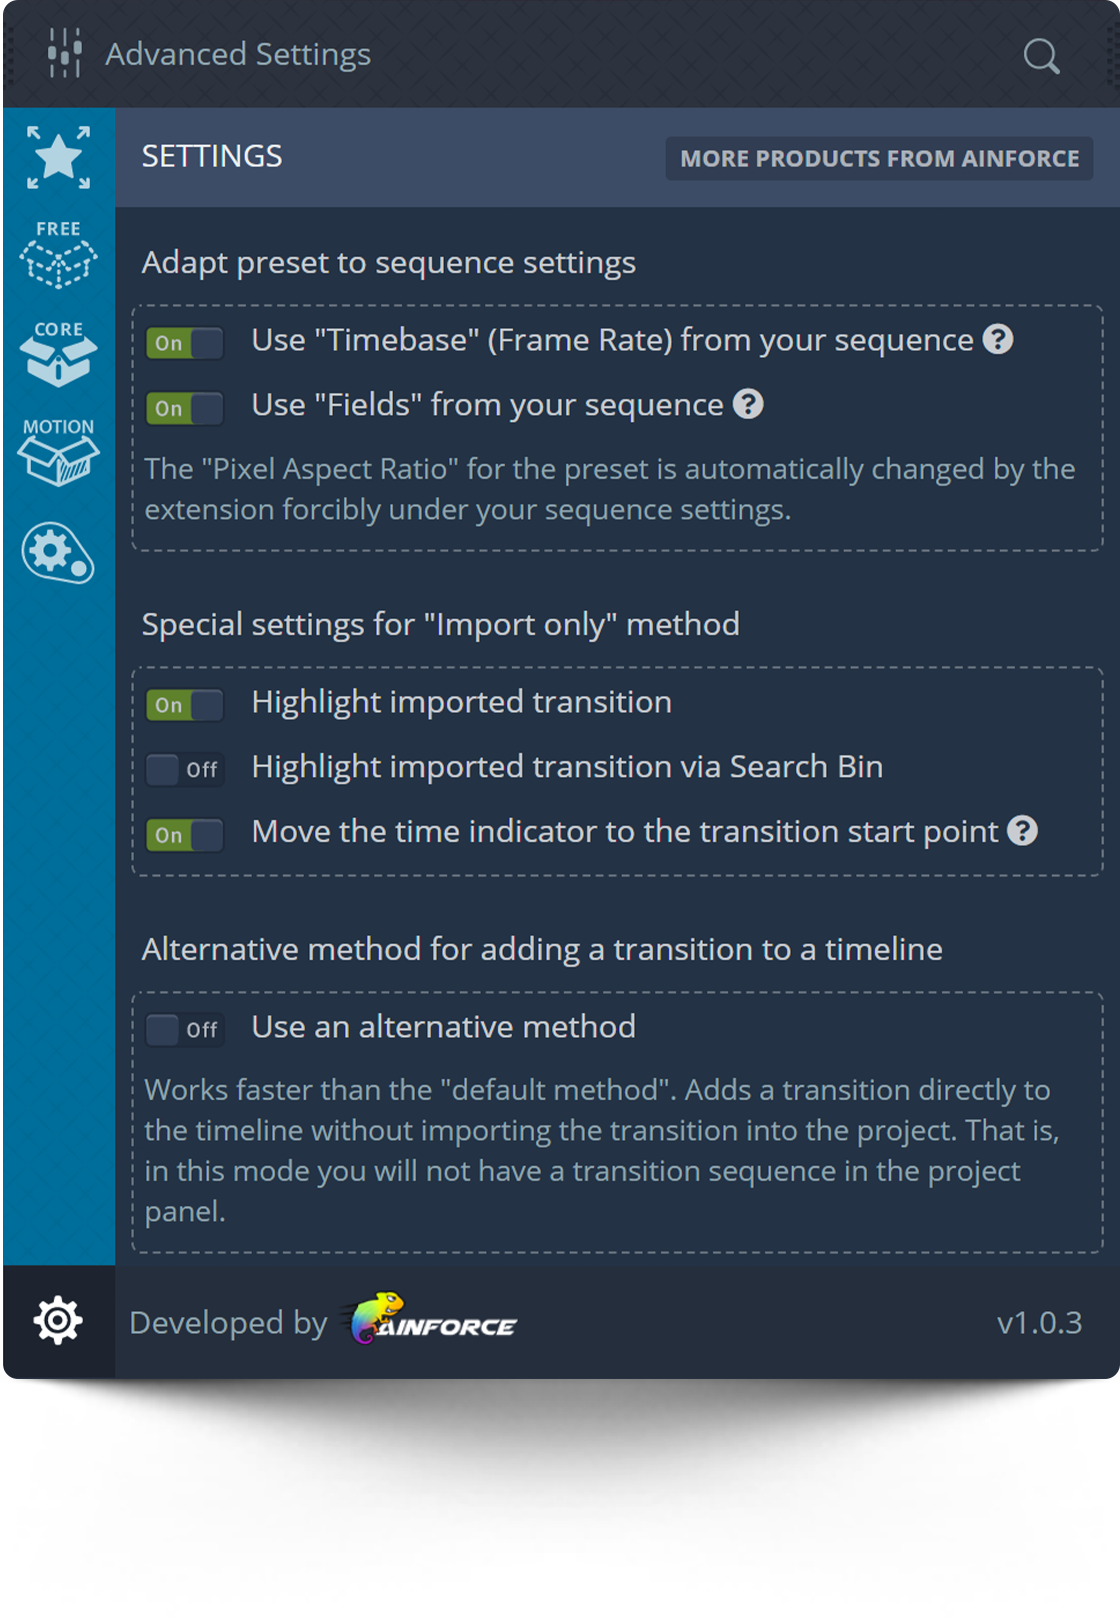
The “Import Settings” tab is responsible for the behavior of various parts when importing presets. Depending on what settings you need at the moment, you can change this at any time.
For example, if you want to import a preset into a project without adding it to the timeline, then you can additionally configure actions for this method of extension operation.
Settings work instantly, so you can immediately check it in action. You do not need to restart the extension.
Adapt Preset to the Sequence Settings
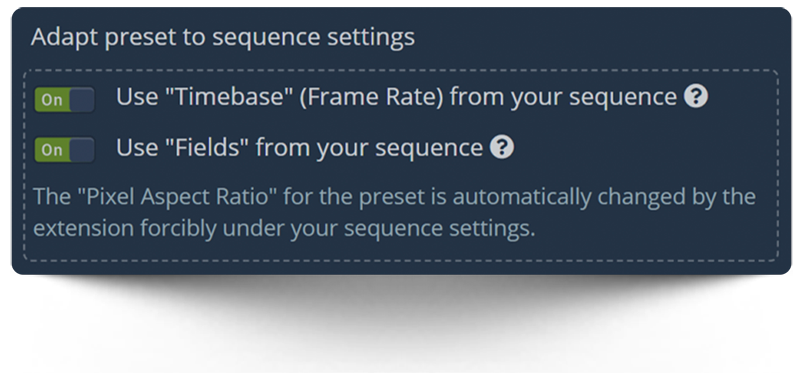
“Adapt preset to sequence settings” section is responsible for global settings of transitions.
- Use “Timebase (Frame Rate) from your sequence”. If the switcher is enabled, the AinTransitions extension for Premiere Pro automatically adapts the transition preset to the frame rate of your active sequence. This is a unique feature in the entire market.
If the option is disabled, then the 25 fps version of the transition preset will be imported to the project and to the timeline. - Use “Fields” from your sequence. If the switcher is enabled, the AinTransitions extension for Premiere Pro automatically adapts the transition preset to the “Fields” property value from the settings of your sequence. If the switcher is off, then by default all transition presets will have the value “Progressive Scan”.
- Pixel Aspect Ratio. The AinTransitions extension for Premiere Pro automatically adapts all transition presets to the pixel aspect ratio from the settings of your active sequence. Since this is required for the preset to work, it has no setting.
Special Settings for "Import Only" Method
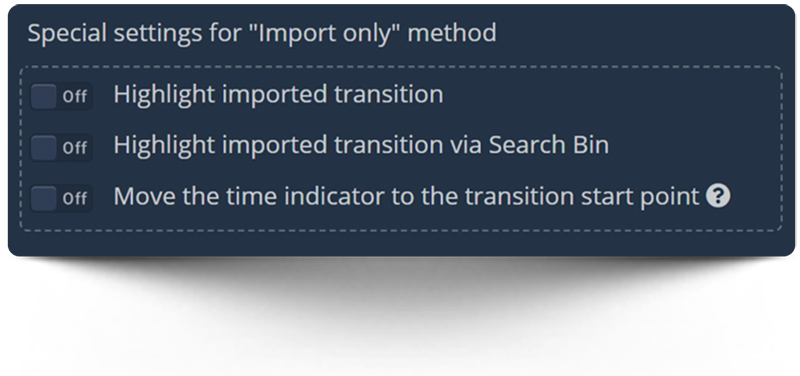
“Special settings for “Import only” method” section is responsible for the settings when using only the import of the preset into the project, that is, without adding to the timeline. By default, when importing a preset project into the project panel, there are no visible actions. However, this behavior logic can be changed using the settings below.
- Highlight imported transition. If the switcher is enabled, then after importing the preset into the project panel, a sequence with the name of the transition will be highlighted. This will also expand the structure of the AinTransitionsPPro folder.
- Highlight imported transition via Search Bin. If the switcher is enabled, then after importing the preset into the project panel, a sequence with the name of the transition will be highlighted via Search Bin folder with the name “=AinTransitions Search=”. This folder is created automatically when using this option, so if you delete this folder, it will not affect further work.
- Move the time indicator to the transition start point. The “Import only” method is intended for importing a preset into a project, that is, without adding it to the timeline. If you subsequently add a transition preset to the timeline manually, it can be difficult to find the correct position for a transition that does not have split clips.
Therefore, to improve usability when manually adding a transition to the timeline, we added functionality to our extension so that the extension can automatically shift the time indicator to the point where the transition should start. For this option to work correctly, you need to place the time indicator at the junction point of your two clips on the timeline before clicking on the transition icon.
Alternative Method for Adding a Transition to a Timeline
By default, the AinTransitions extension for Premiere Pro uses the following logic – the selected transition is imported into the project and then added to the timeline. During this action, the imported transition is temporarily opened in the timeline for copying to the clipboard. In addition, the transition preset, which has already been imported into the project, you can later add this manually to the timeline if you need a manual control method.
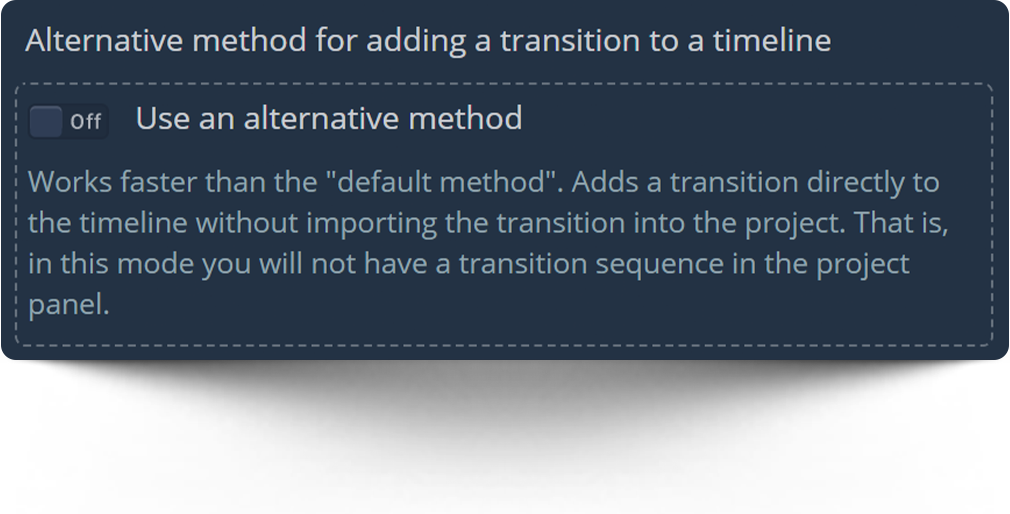
However, for even more flexibility, we have developed and implemented in the AinTransitions extension for Premiere Pro another method of adding a transition to the timeline. This method can be activated using a switcher “Use an alternative method”. In this case, an asterisk indicator will appear in the lower right corner of the extension, which will indicate an alternative mode. In this method, our extension places the transition directly into the Premiere Pro clipboard.
- Pros: Directly adds a transition to the timeline without importing into the project and without temporarily opening the transition sequence. Works faster than the default method.
Track targeting settings
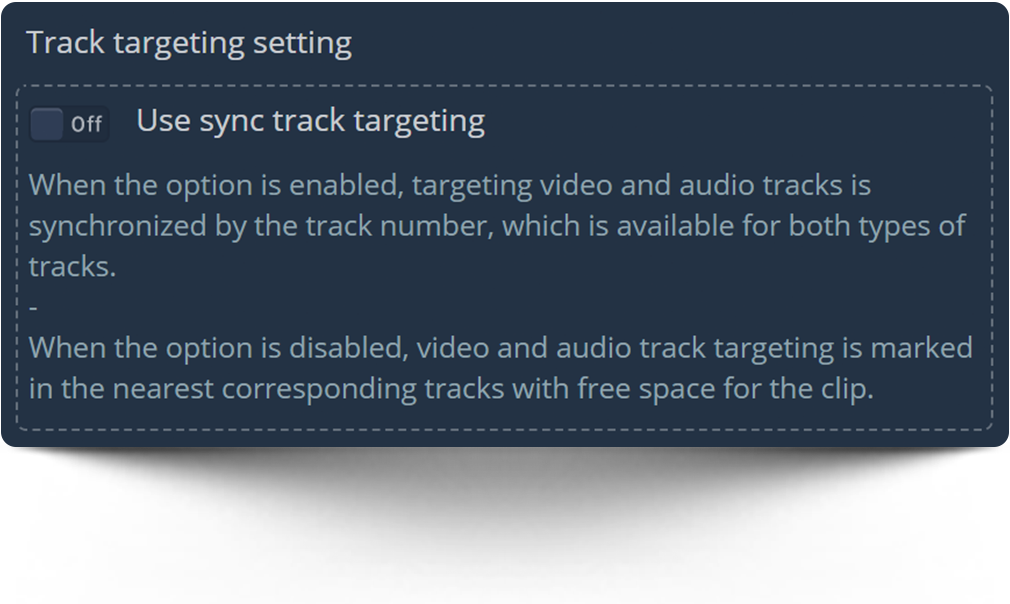
By default, video and audio track targeting is marked in the nearest corresponding tracks with free space for the clip.
- Use sync track targeting. If the switcher is enabled, targeting video and audio tracks is synchronized by the track number, which is available for both types of tracks.
Surely this option will be little used by most customers, but for flexibility we added it.
In case of problems
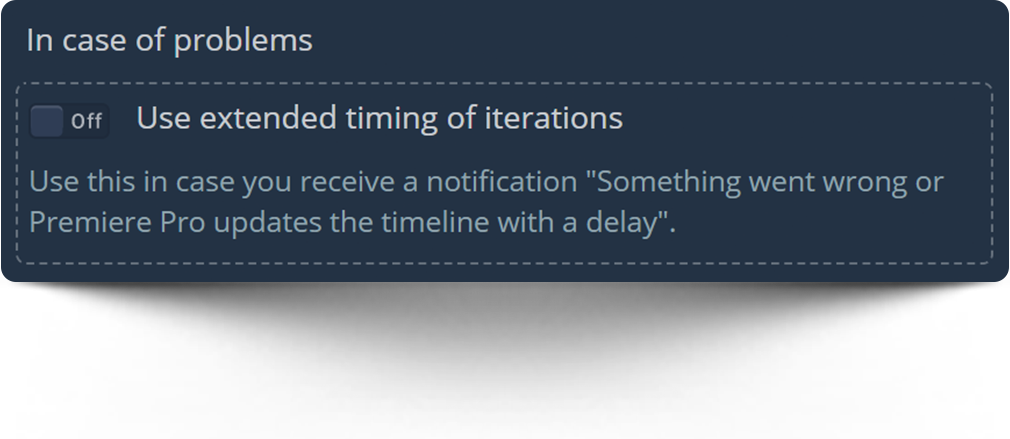
Use this in case you receive a notification “Something went wrong or Premiere Pro updates the timeline with a delay”. Such a message may appear in rare cases due to freezing of Premiere Pro or lack of memory for Premiere Pro, after which Premiere Pro performs actions with a delay. This behavior may also affect the correct operation of our plugin. Adding a transition is split into several iterations, which are performed one after another at a certain interval. And in case of problems, some iterations may not receive data from the previous ones due to the delay in Premiere Pro
- Use extended timing of iterations. If this option is enabled, then this starts each subsequent iteration after a slightly longer interval. In this case, it may solve the problem, but the addition will take a little longer.
