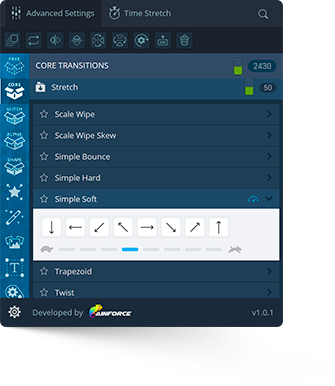
Four of packs, Core, Color, Glitch and Shape Transitions, work on the same principle of operation. In transitions from the indicated packs the transition point from one footage to another is carried out in a place with a marker “ainTR”.
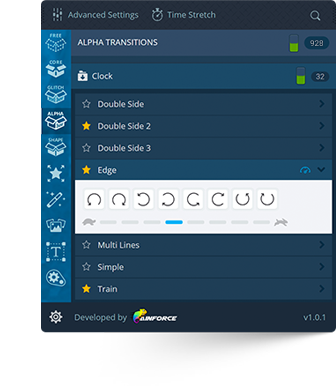
Transitions from the Alpha Transitions pack work on a slightly different principle, since these transitions use the alpha channel and it requires a precompose step with footage (and there should be a bottom slide under the top slide, so that the footage from the top slide is subtracted from the bottom). You can distinguish this type of transitions from all the others by the marker “alpTR”.


How to add single transition’s presets
In this case, there may be several scenarios for adding a transition.
- No layer selected – In this scenario, the transition will be added at the location of the time indicator. Please keep this in mind and keep track of the location of the time indicator if no layers are selected.
- Single layer with footage selected – In this scenario, a transition will be added above the selected layer and placed on the left border of the layer.
- Multiple layers with footage selected – In this scenario, a transition will be added above all the selected layers and placed on the left edge of each selected layer.
How to add multiple transition’s presets
In this case, there may be several scenarios for adding a transition.
How to do multi selection of transitions? The selection is carried out by holding down the CTRL key on Windows or the Сommand key on Mac and clicking on the category or specific transitions.
- No layer selected – First of all you need to make multi selection of transitions in the AinTransitions extension. Then you need to click on the “Apply bulk selection” button. In this scenario, the random transition (from the selected transitions) will be added at the location of the time indicator.
- Single layer with footage selected – First of all you need to make multi selection of transitions in the AinTransitions extension. Then you need to click on the “Apply bulk selection” button. In this scenario, the random transition (from the selected transitions) will be added above the selected layer and placed on the left border of the layer.
- Multiple layers with footage selected – First of all you need to make multi selection of transitions in the AinTransitions extension. Then you need to click on the “Apply bulk selection” button. In this scenario, random transitions (from the selected transitions) will be added above the all selected layers and placed on the left edge of each selected layer.
How to replace transition’s presets
Replacing transitions is quite simple
- Select the layers with transitions that you want to replace.
- Return to the AinTransitions extension and click on the transition icon that you need.
Similarly, you can replace transitions with random ones if you use selected transitions.
How to adjust the speed of transitions
Changing the transition speed is pretty easy
There are two ways to change the transition speed.
- Change the position of “In Point” or “Out Point”. If the “In Point” and “Out Point” are closer to the marker, the transition will be faster, otherwise the transition will be slower.
- Change the transition’s speed through “Manual Time Stretch” option in the “Time Stretch” menu. By default the “Manual Time Stretch” input contains the value 100. This means that the transition has the original length or in other words, 100 percent. If you want to make the transition faster, then you must enter a value less than 100. If you want to make the transition slower, you must enter a value greater than 100.
How to customize transitions with an alpha channel
The settings layer is in the nested inner composition
For each transition using the transition’s settings you can slightly change the visual appearance. You can simplify the transition by turning off parts or control the status and saturation of the glass effect for each part. Procedure to change settings:
- Open transition’s composition
- Inside the transition’s composition, go inside the nested composition with the prefix “inner_”.
- Select the “AinTransitions_Settings” layer and open the “Effect Controls” panel.
- Using the settings, you can turn off parts, control the level of saturation of the glass effect for each part, or turn off the glass effect.


